How To Submit A WordPress Plugin
Publishing your first plugin can be both exciting and intimidating. Follow this guide to get your first plugin successfully published.
Do you have a WordPress plugin that you want to add to the WordPress directory? However, you do not know how to upload it.
If this is you, keep reading. I am going to show you, step by step how to upload your WordPress plugin to the WordPress repository.
Before you can upload your plugin, you would need to open up an account with WordPress.org, which you can create on this page.
Your WordPress account registration form would look like this:

Fill in the information and click “Register”. Just like any other typical registration form, they would send you an email to confirm your account.
Once you have confirmed your WordPress account and logged in, the next step is to go to WordPress Developer Center.
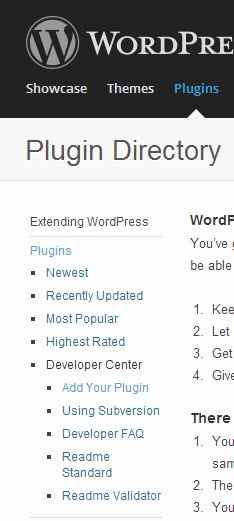
From the WordPress.org homepage:
- Click onPlugins
- Under the “Extending WordPress” section, click on “Developer Center”
- Next, click on “Add Your Plugin”.
Or you can just goto direct url – Add Your Plugin.
You will see the following screen:
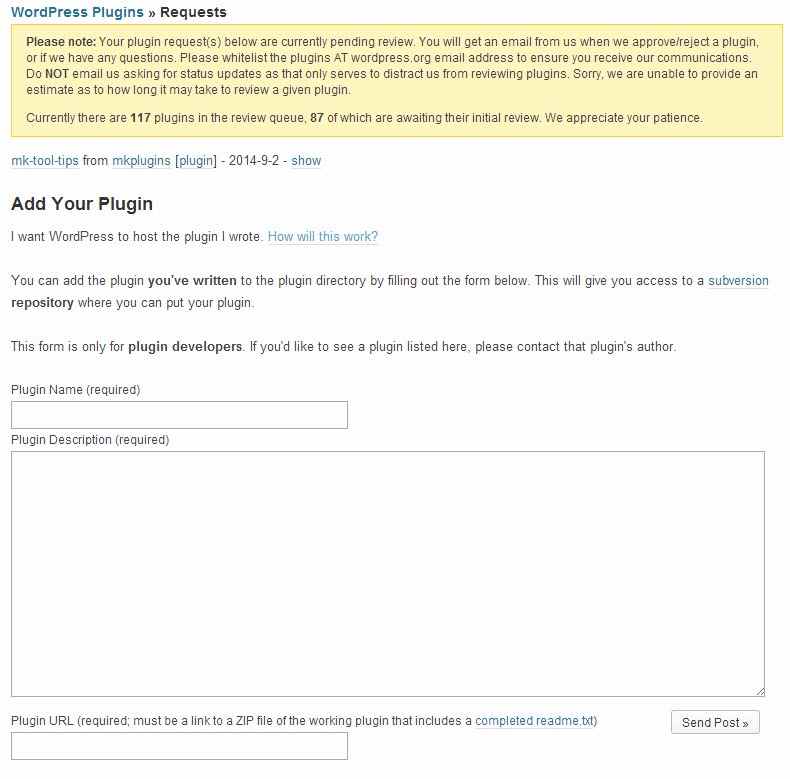
From here, there are a few things you would want to keep in mind.
Let’s start from the top with the yellow highlighted section. The thing that you would want to pay attention to it is that “117 plugins in the review queue, 87 which are awaiting for their initial review”.
These are the total number of WordPress plugins are waiting. But don’t worry, people at WordPress are very quick. They try to get back to people within 24 to 48 hrs but of course, there are times when it could take a little longer. So, try to be patient!!!
Now the next section is “Plugin Name”. This is where you would want to enter your WordPress plugin name. Try to be mindful of what you want to call it because once it’s approved and added to the “WordPress Plugin Repository” you can’t change it.
The next section is “Plugin Description”. Here you can put a short description about your plugins as to what it does and so on. For example, “MK Smart Player” description – will allow you to play any video from the web or from YouTube.
Last but not least, “Plugin URL”. This is the link where people at WordPress.org and can download your plugin and test it would on their test server(s).
If you have web server, I would recommend that you create a folder just for your WordPress plugins submissions and upload them all there. Then copy the link for your plugin and paste it in the plugin url field.
However, you don’t want to do that, then you can open up media fire FREE account that gives you 10 GB storage space. Here is a thing that I like about this site over others is that they let you access the file with direct link.
Here is how you access it. After you have uploaded the file, do the following:
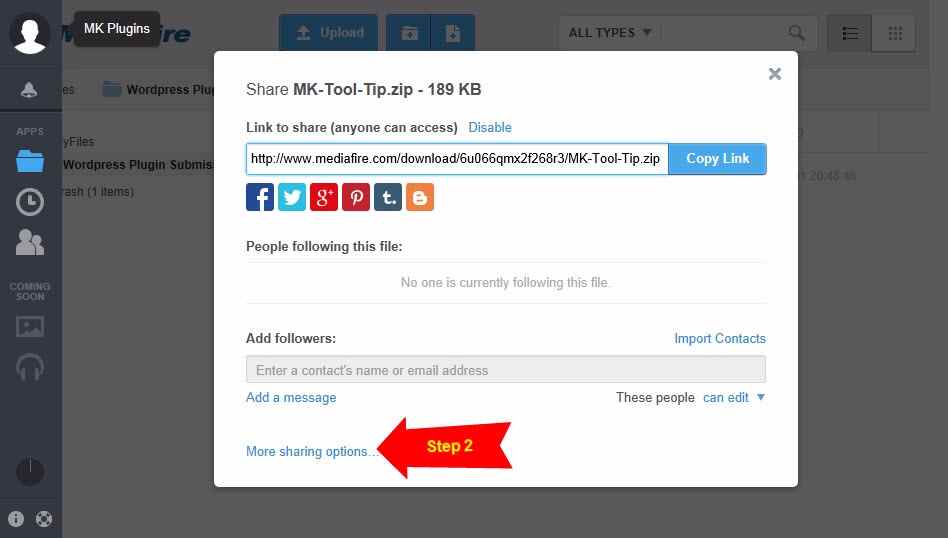
Move your mouse over your WordPress plugin file and click on “Share”:
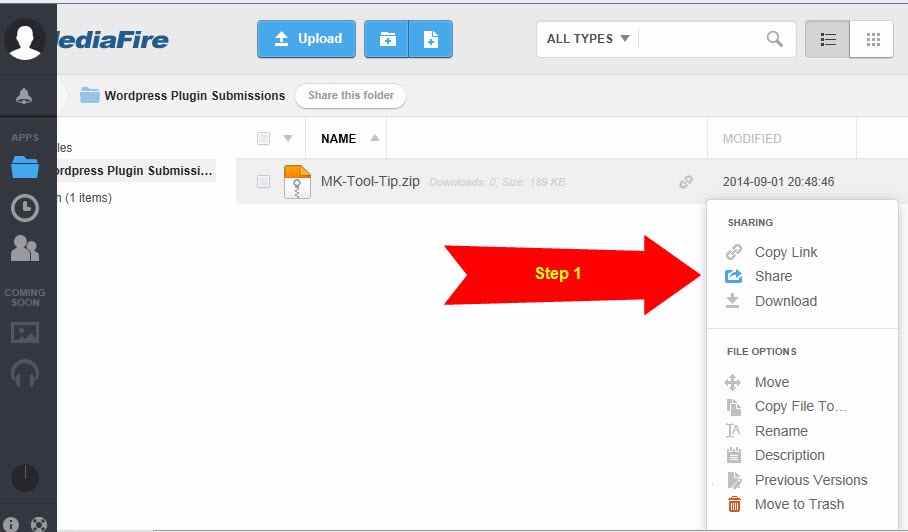
Click on “More Sharing options”
Click on the chain link icon to copy the link:
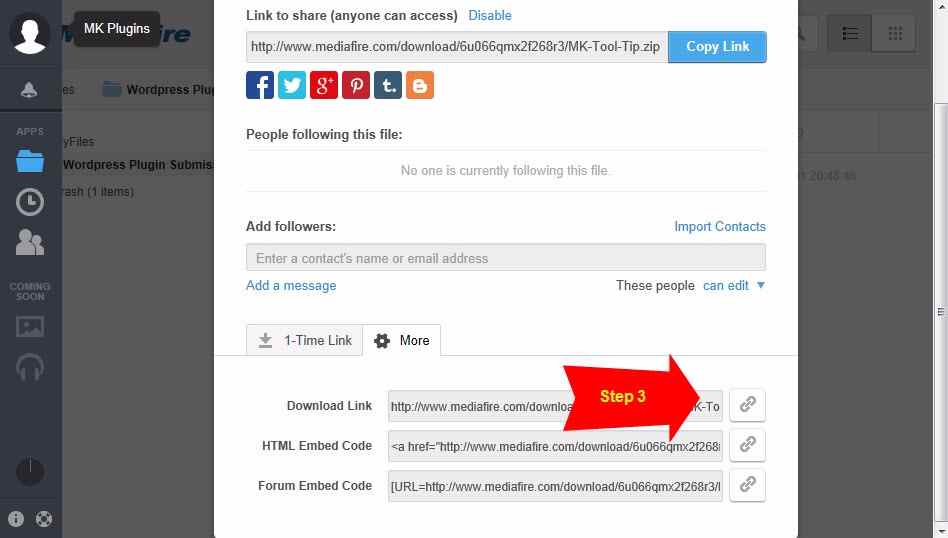
Paste the link into “Plugin URL”. Finally, just click on the “Send Post”.
Like I said before, it could take anywhere from 24 to 48 hrs or maybe a little longer but be patient. Because WordPress folks will have to test your plugin to the fullest to make sure that it doesn’t cause any problems once it’s live in the WordPress Plugin Directory/Repository.
If there are any problems with your plugin, they will send you an email pointing the errors. Once you have fixed them all, you can reply back to the email and you won’t have to go through the whole process all over again!!!
I hope this helps you in submitting your first WordPress plugin for approval.
Once the wonderful folks at WordPress have approved your plugin, they will email you the link to the Plugin Directory where you can upload your plugin files. So, it would become public and everyone can download your WordPress plugin and start to take advantage of all the great things it can do.